Boxwood has always been a long time favorite look for landscaping due to its lush green color and ability to be trimmed into desired shapes or walls. Recently, after being inspired by Joanna Gaines, I started to think of ways to incorporate boxwood into the home. One easy place to start: a boxwood wreath.
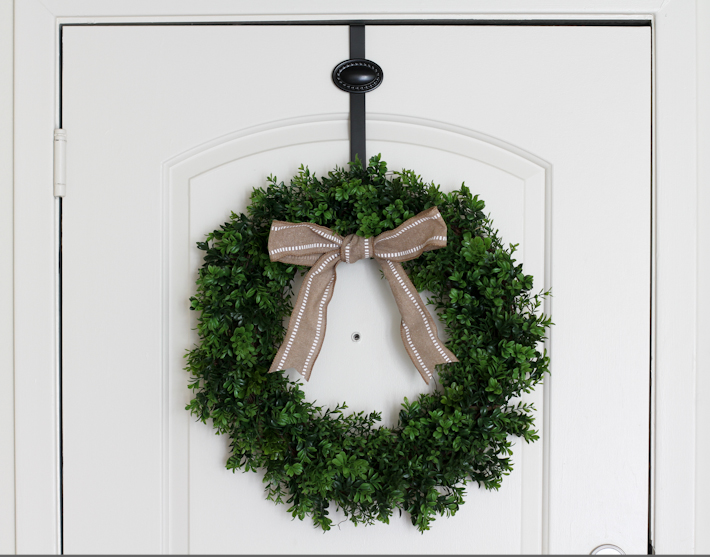
Because of it’s monochromatic appearance, there is so much variability for a boxwood wreath. Make small wreaths and hang them in windows or on the back of chairs. Tie a burlap ribbon bow on the wreath and hang at the front door or above the mantel. Place on the outside of cabinets. Add initials with large wooden letters and give as a housewarming gift. During the holidays, add red accents for a festive look. For today, I am going to add the wreath to the inside of my front door.
Making the wreath is easy but depending on the desired fullness and size of the wreath it can be a little time consuming. I wanted a fuller wreath so I turned on the Olympics and worked while cheering on Team USA!
Supplies:
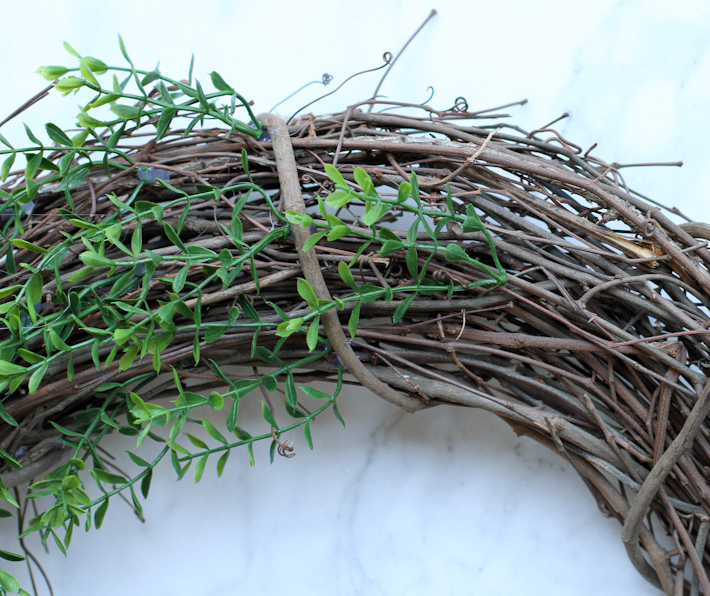
- Grapevine wreath
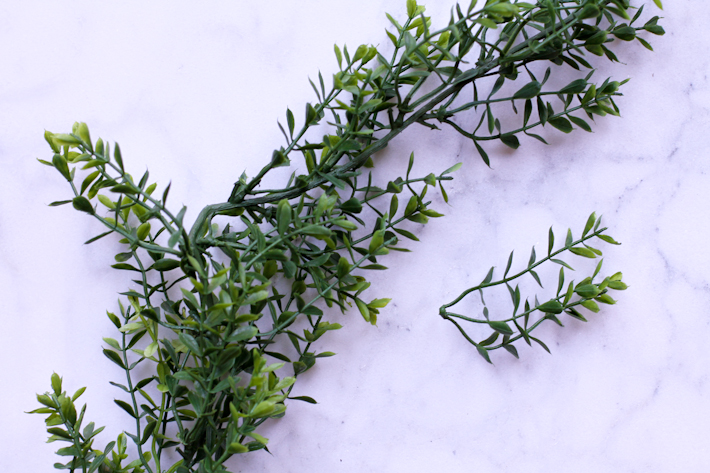
- Boxwood garland (I purchased two strands at Michaels)
- Hot glue gun and glue sticks
- Ribbon for bow (optional)
Instructions:
- Pull the sprigs off of the garland strand.
- Attach base of sprigs to wreath base. Align sprigs in all the same direction. Continue doing this until wreath is desired fullness.
- Attach a ribbon bow, if desired. This video has an easy bow tutorial.
You finished! Enjoy your new wreath!