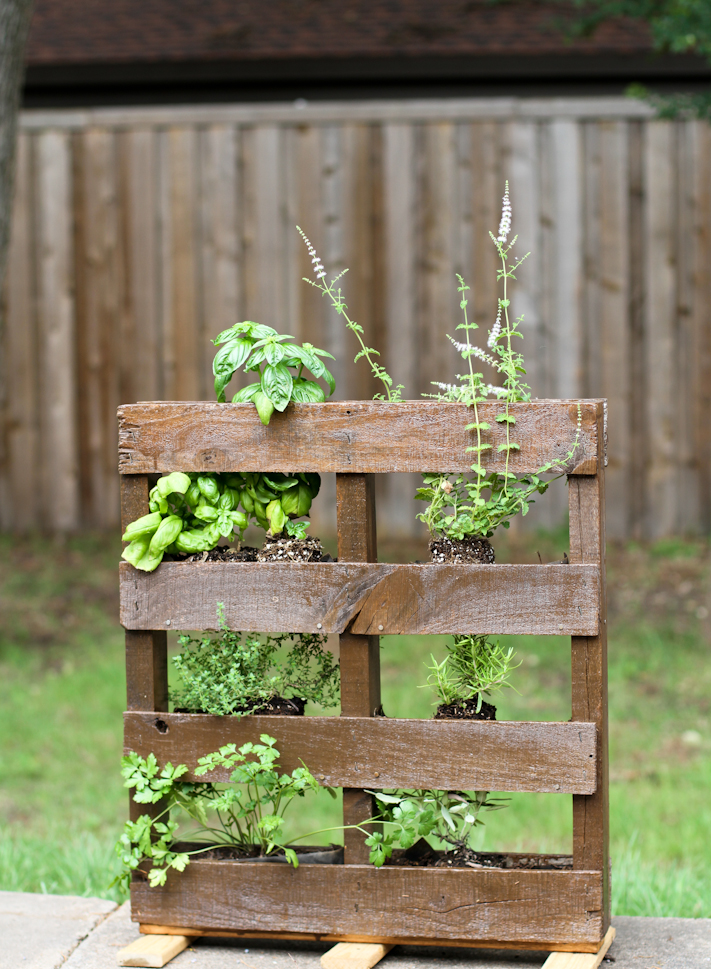
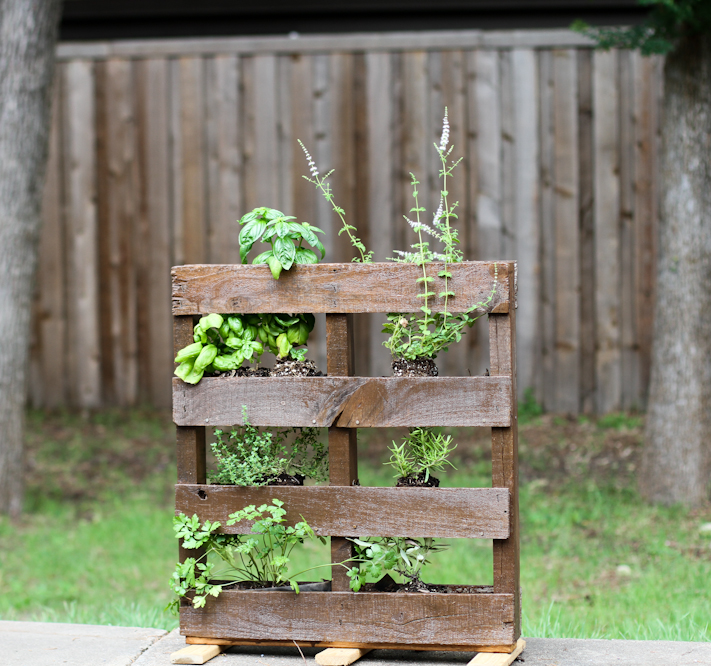
 One of my neighbors had a pallet laying around she wasn’t using and offered it to me. Recycling the pallet by making an herb garden was the first thing that popped in my head. Each division of the pallet serves as a separate “pot” and it’s easy to move around while I update my backyard landscape.
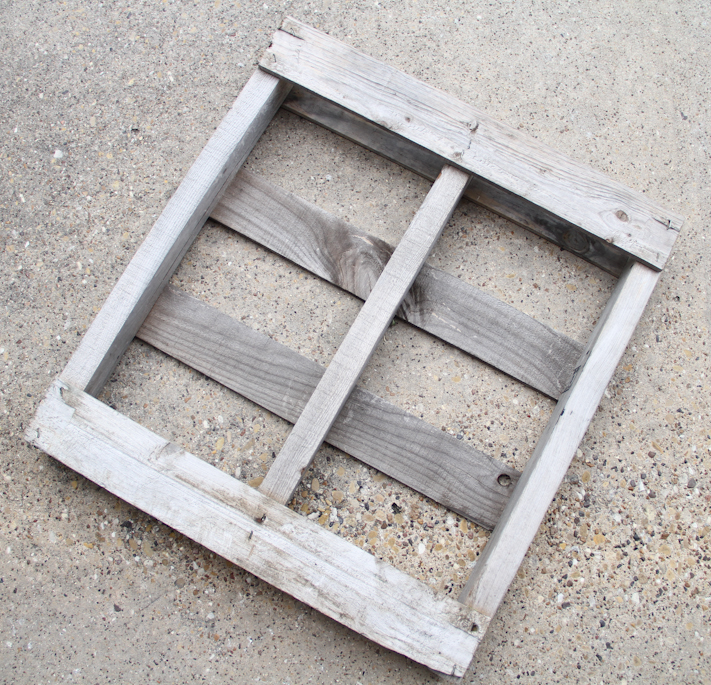
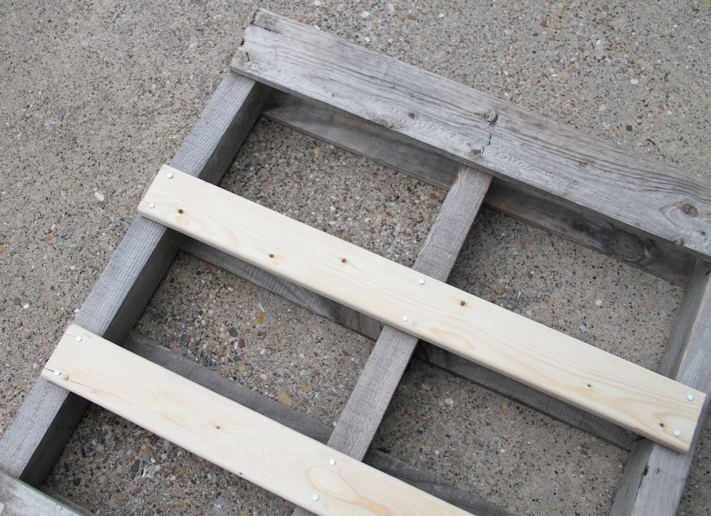
I started out with a small pallet that needed a few boards added to the back. The pallet will sit upright when finished so it needs boards added that will run parallel to the ground to support and hold the plants.
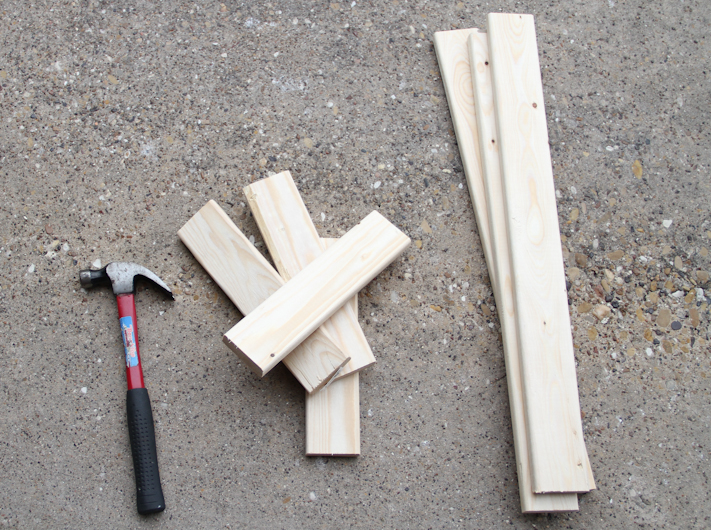
With a ruler, I had these pieces cut (for free by Home Depot) to fit my pallet.
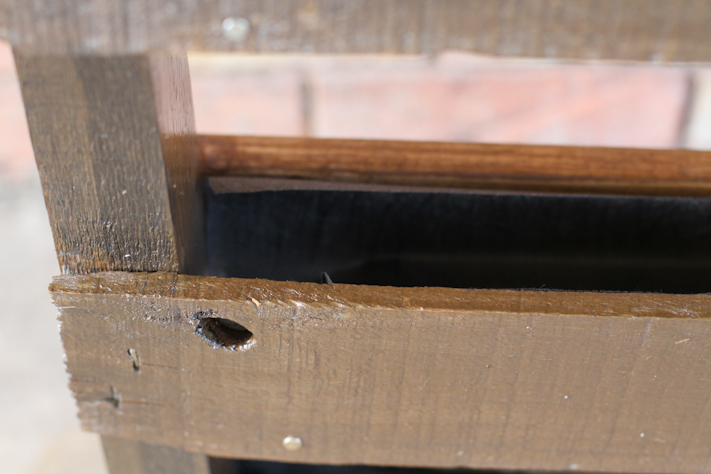
I nailed a couple boards to the back of the pallet to support the back of the plants and smaller boards to create a “pocket” for the plants to sit.
A coat of cedar stain and polyurethane were both added to make the pallet congruent and more water resistant. Inside each “pocket” of the pallet I cut sheets of landscape fabric to act as a barrier between the soil and wood.
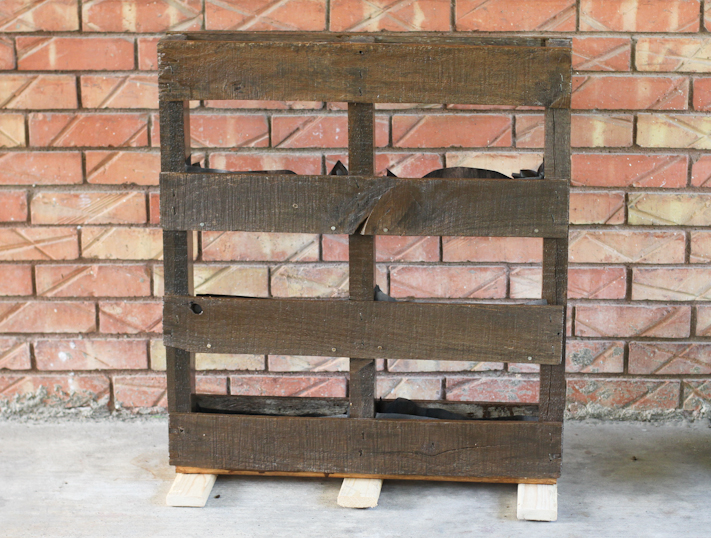
Originally I was going to hang the pallet garden, but in a last minute decision, I decided to sit it upright on a stand instead. I added a few pieces of leftover wood to the base, each about 12 inches, to provide stability.
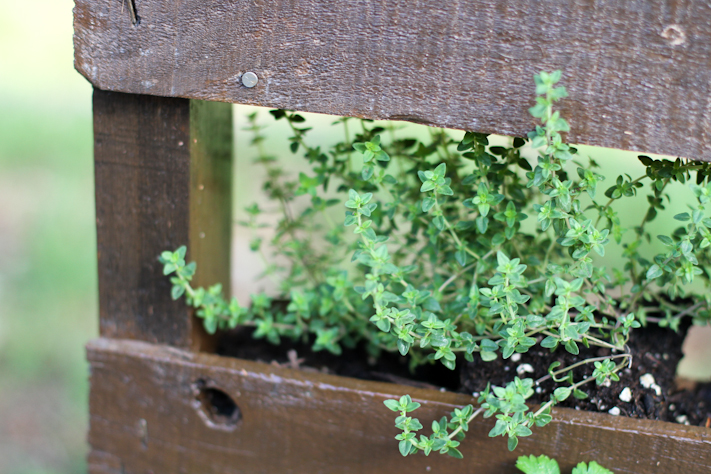
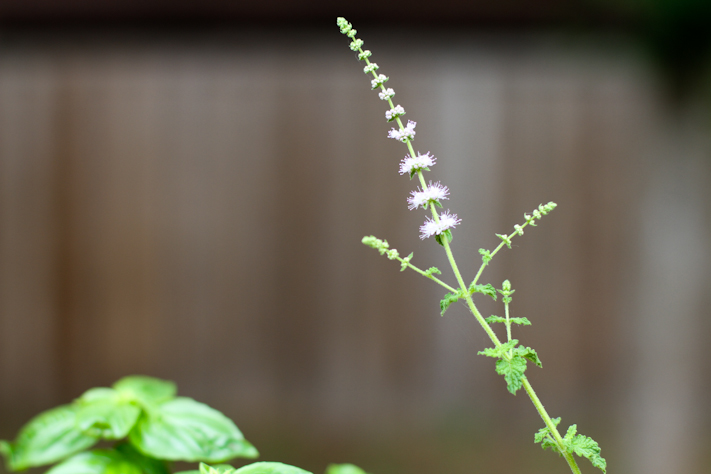
For the best part: adding the herbs! I have six compartments on the pallet for herbs. Some of the herbs I enjoy using fresh and frequently: basil, mint and parsley. I also added sage, thyme, and oregano in hopes it will encourage me to experiment with different recipes and flavors.

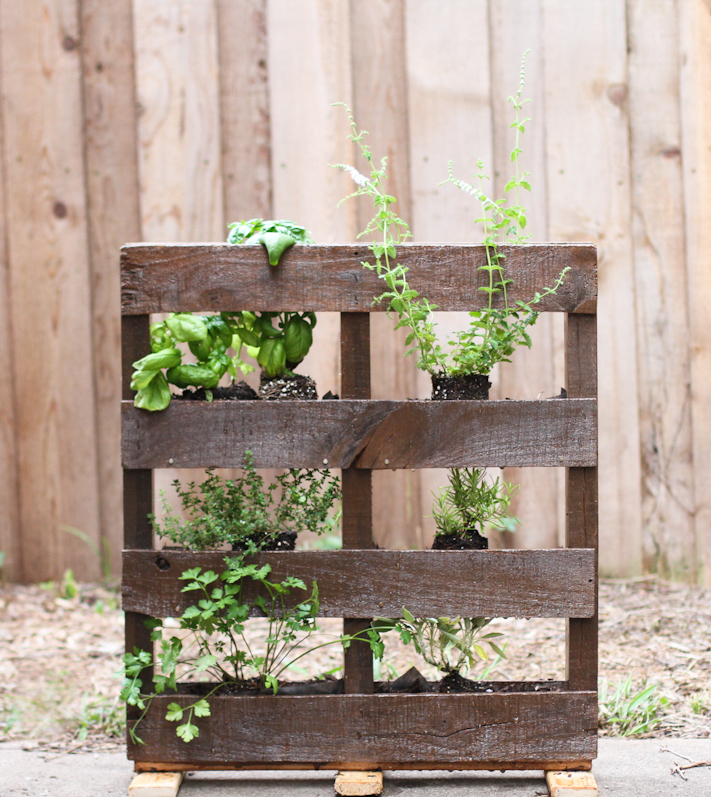
DIY Pallet Herb Garden
Supplies:
- Pallet
- Ruler
- 1 inch thick wood slices cut to size (for the posterior side of pallet and to run flat, parallel to ground to support bottom of herbs)
- Nails
- Hammer
- Paint brush
- Wood stain
- Polyurethane (I used a semi-gloss)
- Landscape Fabric
- Scissors
- Herbs
- Potting Soil
Directions:
- Construct frame of pallet garden: Create compartments in the pallet to support the plant, similar to pots. Measure, cut (free at most hardware stores) and nail boards onto the back of the pallet and base of each compartment that will support the back and bottom of each plant, respectively. Nail on a base to the pallet so it can become freestanding or attach hooks to the back of the pallet for it to attach to a wall.
- Prepare: Brush on a coat of stain and polyurethane, drying between layers. Cut small pieces of landscape fabric to line each “compartment” in the garden.
- Plant: Place 1-2 herbs in each compartment on the pallet and fill with soil. Water plants frequently and enjoy!!
I am getting ready to powerwash my house and fence. As soon as that’s done, I’m going to move the garden near the fence and cover the base with mulch. Until then I’ll be enjoying the ease of having it on my patio!
Live your life joyfully so,
Ashley