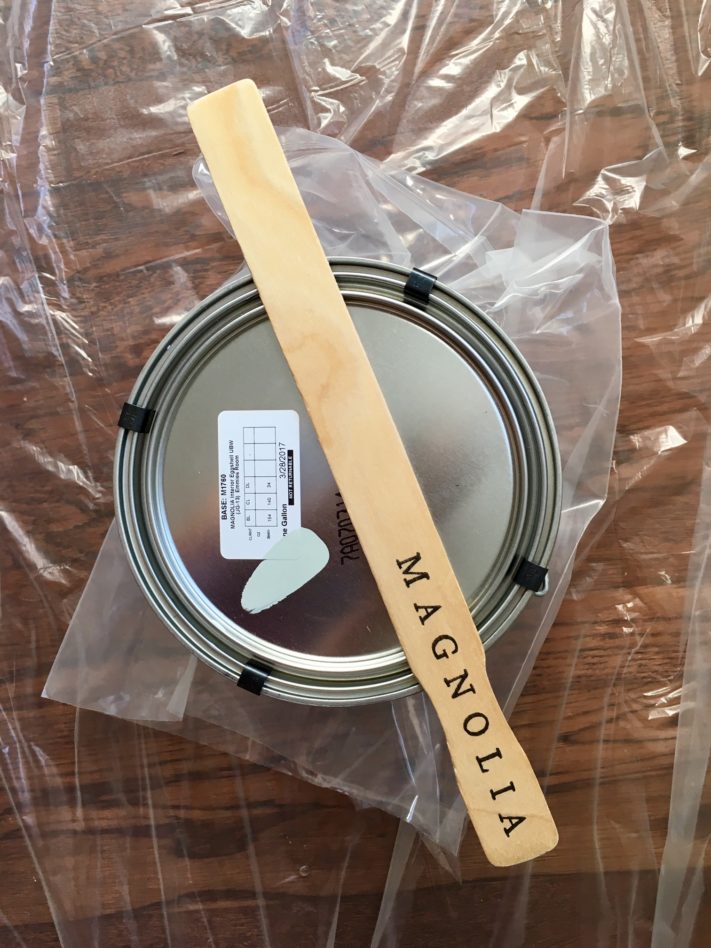
 While I was waiting to close on the house, I was busy picking out paint colors. I found a beautiful color by Chip and Joanna Gaines. The day I closed on the house, I eagerly began painting only to realize I had a horrible, bumpy texture on my bedroom walls. The entire house has this texture, but the master bedroom was most apparent. Since it is the master bedroom, my home sweet home and cozy sanctuary, I wanted to create a room that had a calming, peaceful ambiance. I made it a goal to create smooth walls.
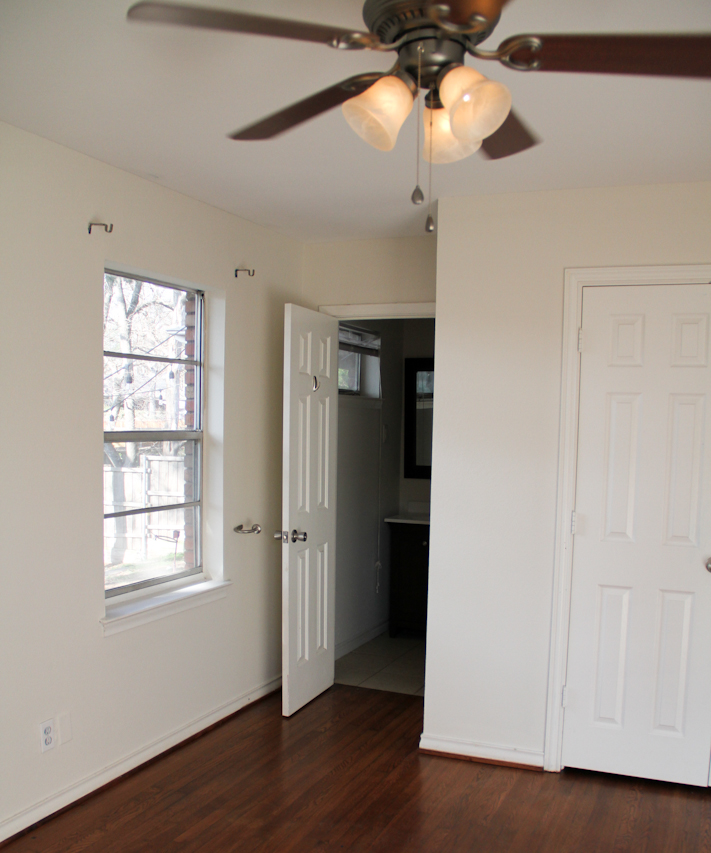
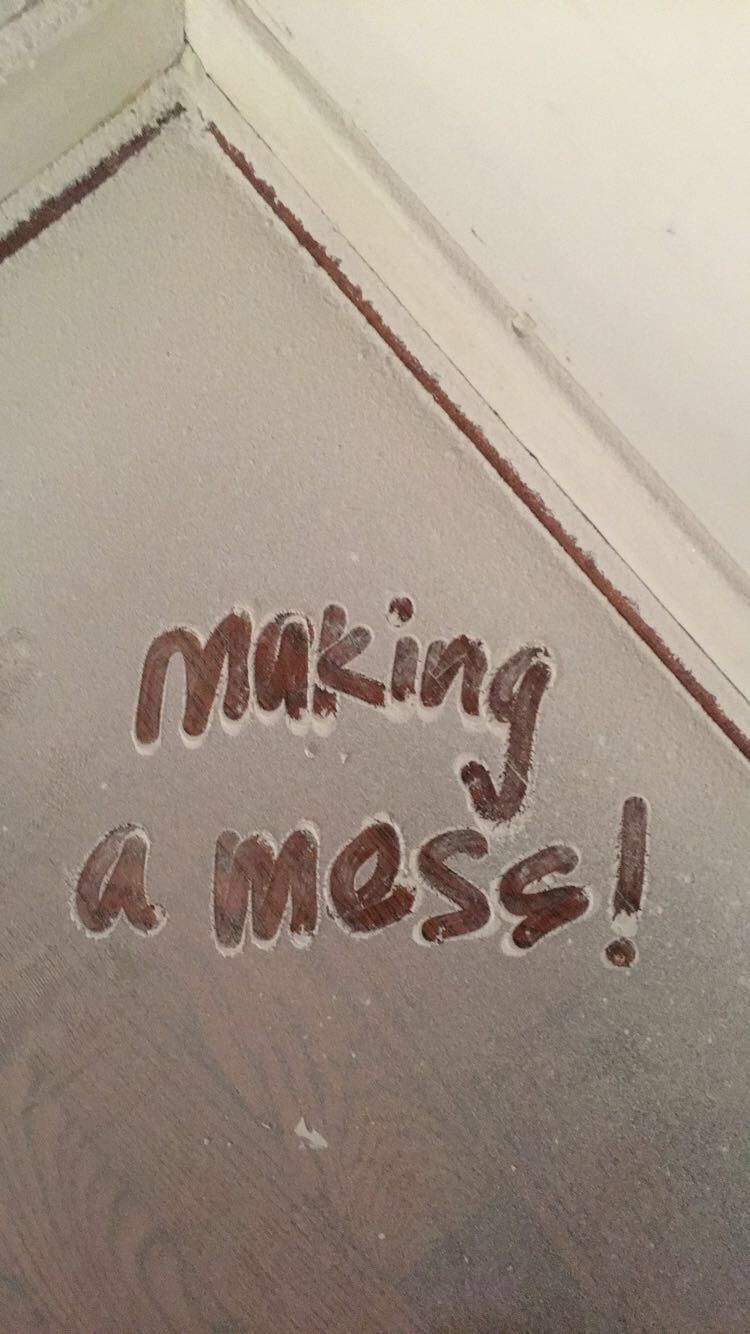
When I toured the house the bumpy texture on the walls was not very noticeable from afar.
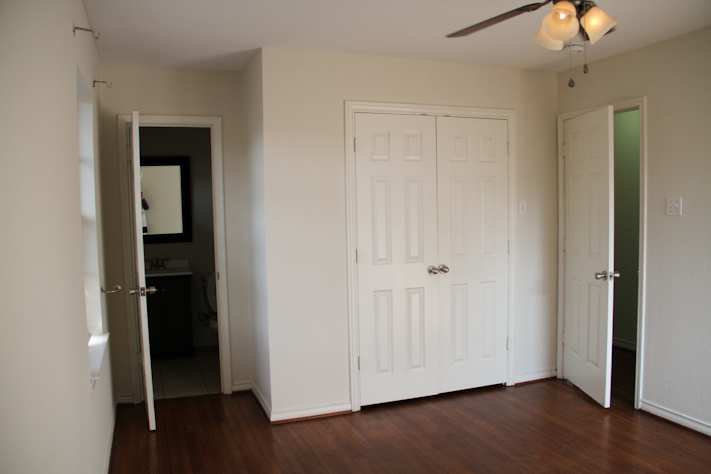
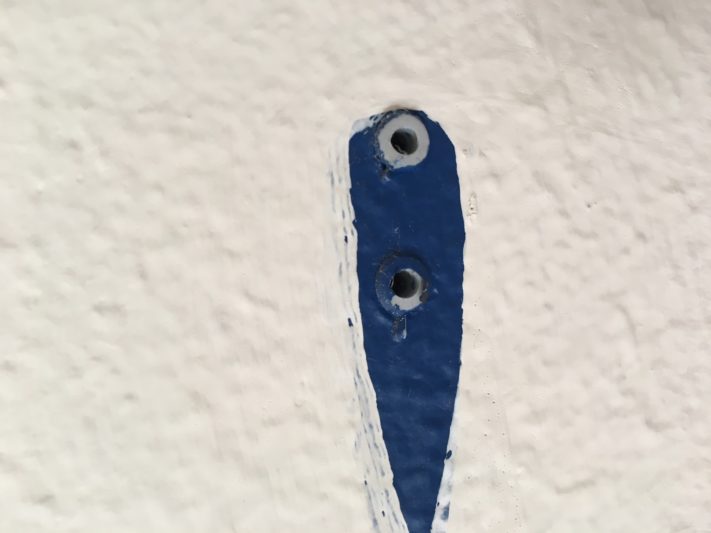
However, looking closer the walls are very dimpled. (I’m convinced the previous owner was Superman as there is bright blue and red paint around the entire house.)
So I began a process to smooth out the walls.
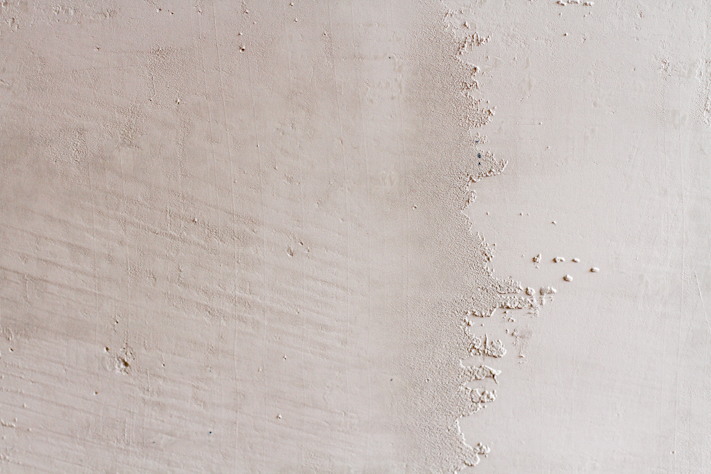
I applied two coats of joint compound and smoothed it out (there’s the Superman blue again)…
then sanded…
and wiped down the walls and began priming…
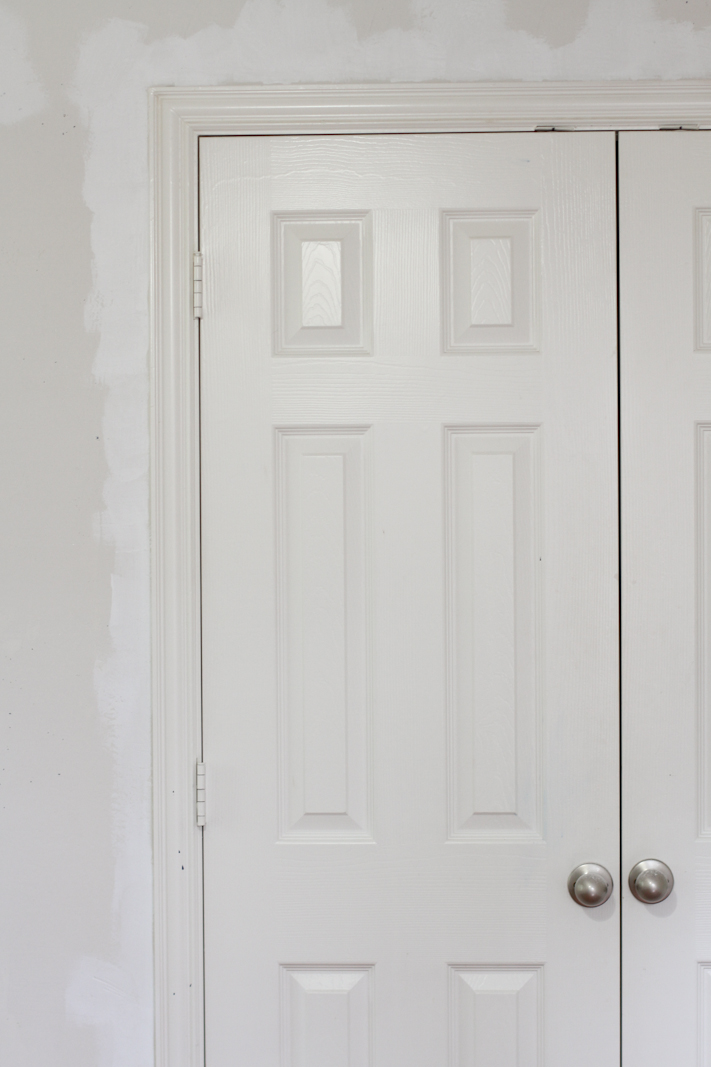
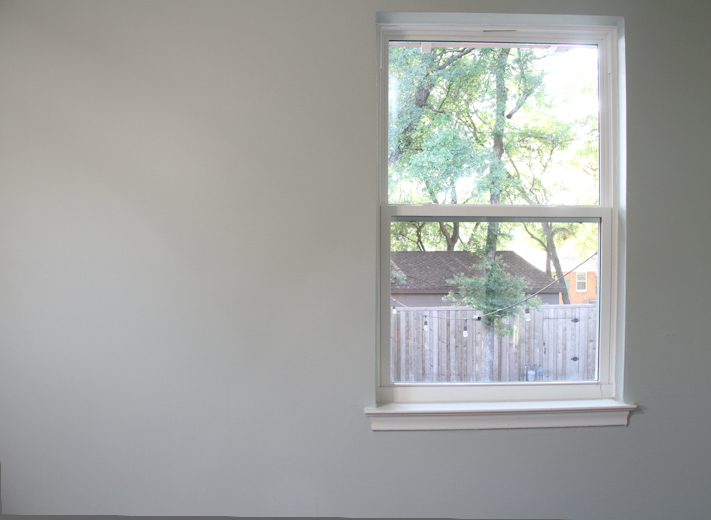
then opened up a beautiful can of paint and made the walls as good as new!
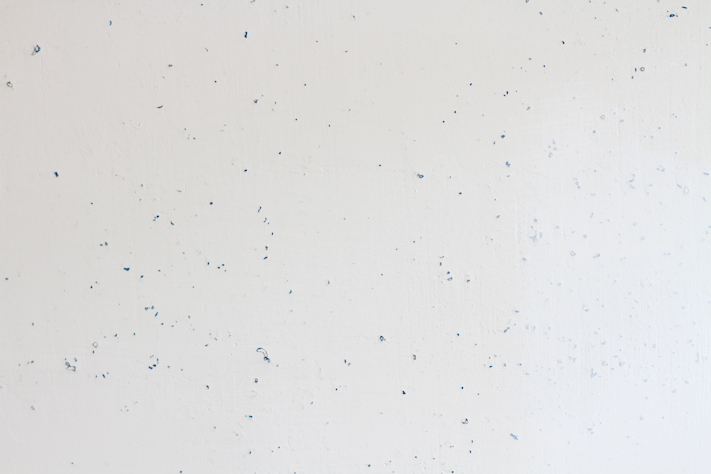
Up close there are little imperfections noted to a keen eye.
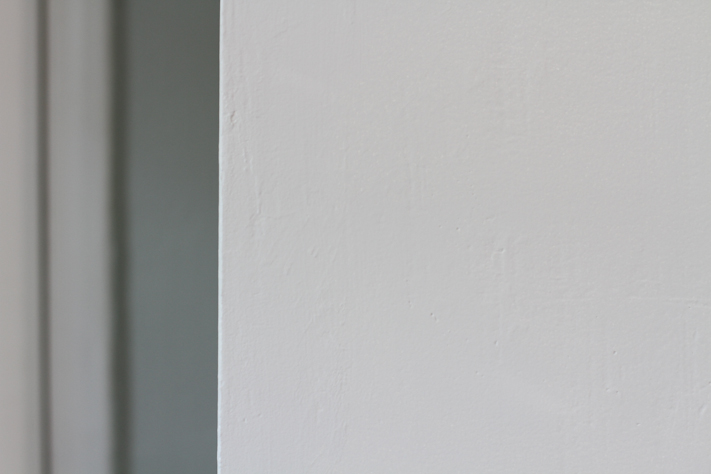
But from afar, the walls are smooth and fresh. This soft, sage color will create the perfect place to relax at the end of the day.
This process, called skim coating, helps to achieve the smoothest of smooth walls. Dry wall seams are hidden, imperfections are covered and walls are upgraded to the highest quality, known as a level five drywall finish.
Before I talk more about skim coating I want to point out a few things. First: I am not an expert when it comes to removing texture on walls. Youtube was my best friend and teacher in this project through several tutorials. Second: Make sure you aren’t dealing with any harmful chemicals, such as lead paint or asbestos. Third: this project is time consuming. I spent several hours on my bedroom alone. The results turned out good, not perfect, but I LOVE the walls in comparison to the previous appearance!
Removing Texture on Walls
Supplies:
- Canvas drop cloth
- 1-1/4 inch nap roller
- Paint roller
- 4 foot extension pole (optional)
- Ladder (optional)
- Joint Compound (recommend approximately one large 4.5 gallon bucket for each bedroom-sized space )
- Water
- Large paint
- 14 inch taping knife
- Mud pan
- Painters towels
- Drywall sander (recommended – rent from local hardware store) or drywall sanding sponge
- Mask and safety glasses
Instructions:
- Prepare: Prep working area with canvas drop cloth, paint roller and ladder. Dilute joint compound by adding about one cup of water to the 4.5 gallon bucket. Mix thoroughly. Add more water if needed, joint compound should be the consistency of mud.
- Apply first coat of joint compound: Using a paint roller, apply the joint compound to the walls. In the beginning, only work in a four feet work area to prevent joint compound from drying out. Take the taping knife and scape the joint compound horizontally to create a smooth coat. Scrape off excess joint compound from taping knife into mud pan. To decrease imperfections, keep edge of taping knife clean and smooth as you work. Allow to dry overnight.
- Apply second coat of joint compound: Add water to thin joint compound again, until it is a little runnier than mud. Mix thoroughly. Apply a second coat of joint compound, but use the taping knife in a vertical direction. Walls should be very smooth. Allow to dry overnight.
- Sand: Using a drywall sanding block (affordable but messy) or a drywall sander (rent from hardware store, easy clean-up), sand wall smooth. Gently take a damp cloth and remove any remaining dust from the walls and work area.
- Prime & Paint: Apply a coat of primer to the walls and allow to dry according to instructions on primer. Apply desired paint and allow to dry.
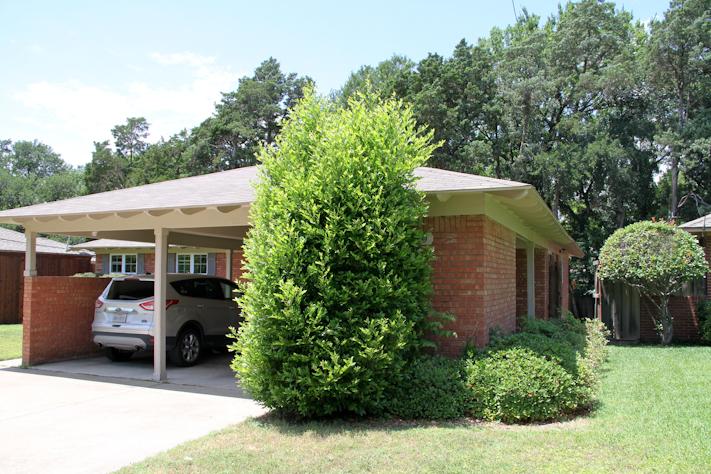
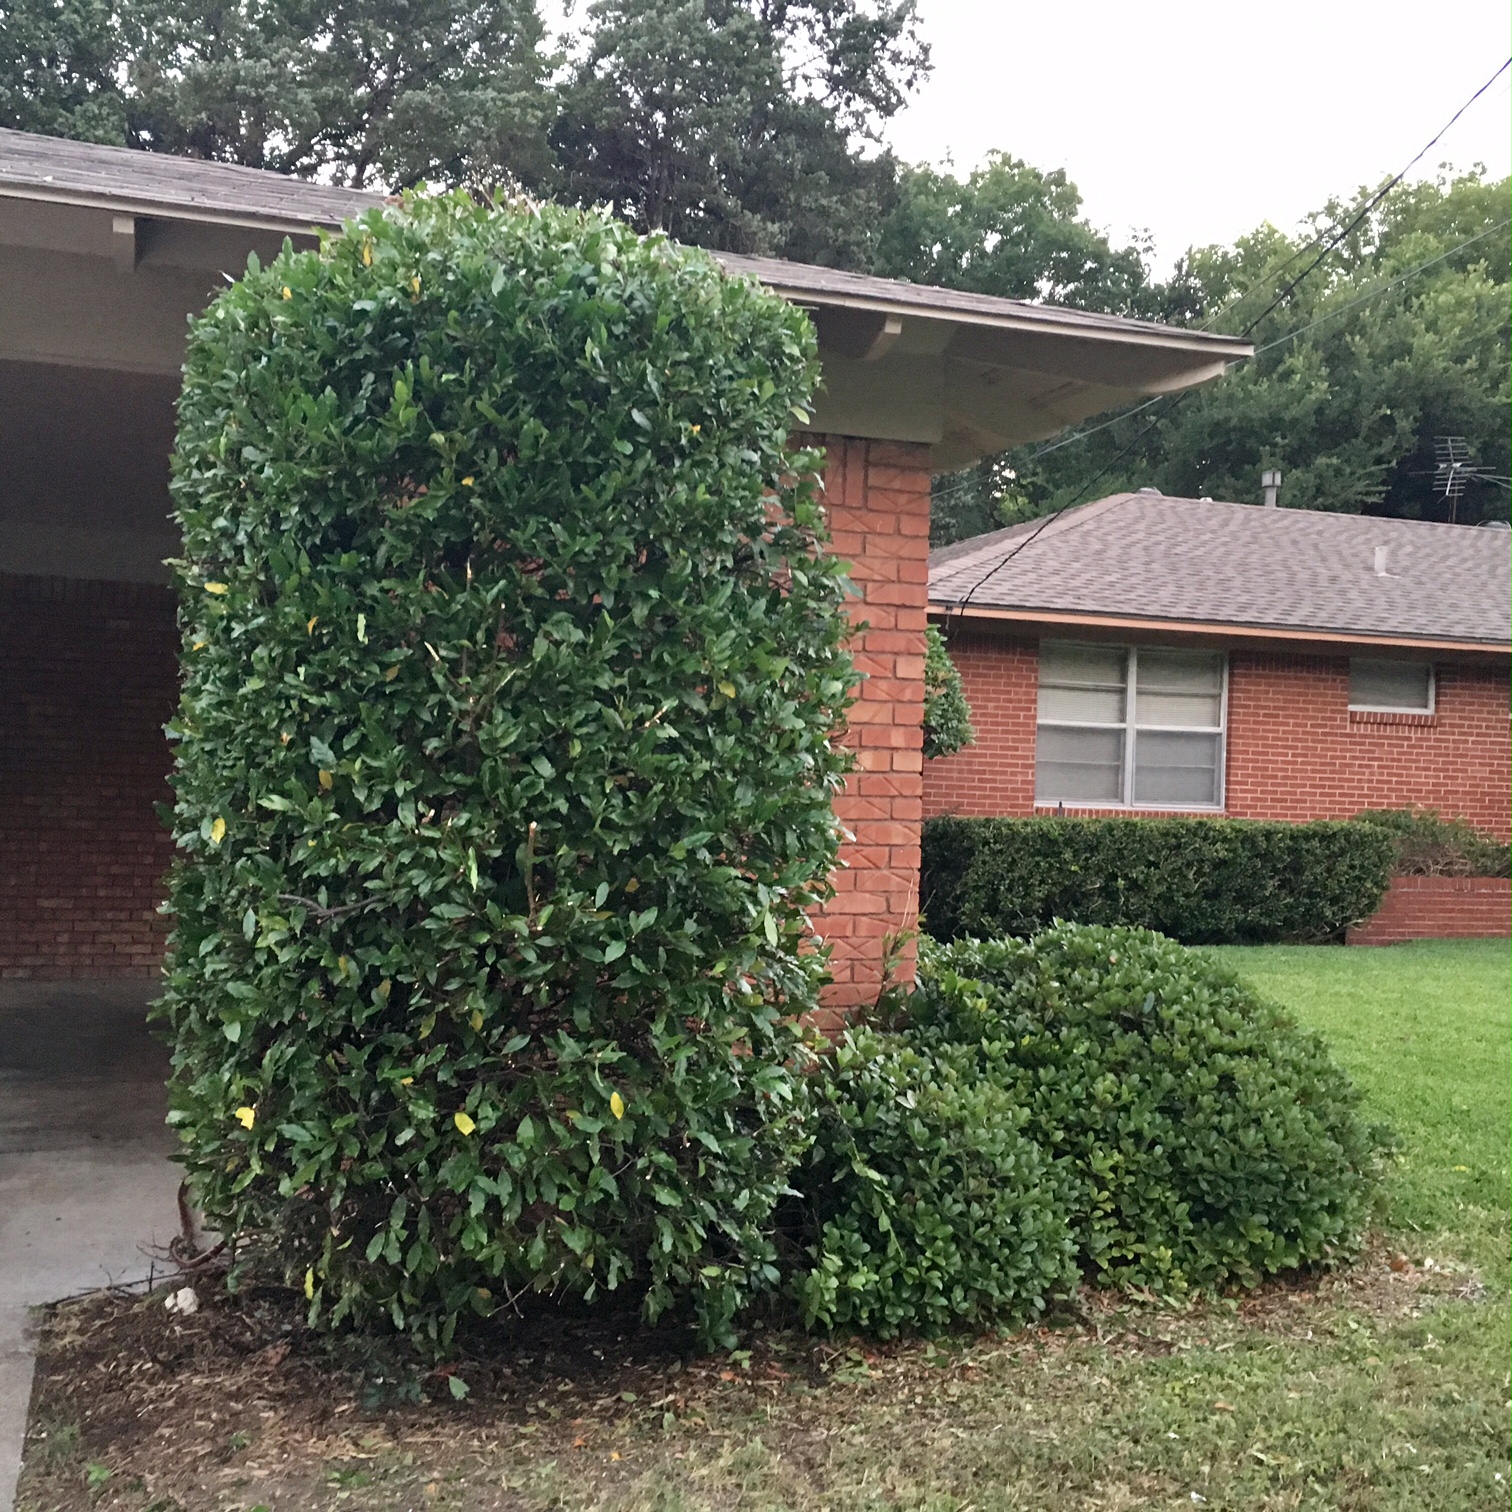
Landscaping update:
Hedge trimming was also done this week. Trimming is a loose interpretation. More like chop off as much as you can without killing the plants. They were in need of a clean cut. Seeing the change after they were trimmed was instant gratification and a mini-makeover for the house. Like a healthy haircut. What was once a detractor is now a beautiful attracter. The appearance of freshly cut hedges adds natural art to the house, and also prevents security problems from overgrowth.
My landscaper recommends gently nudging (or kicking) bushes prior to trimming as wasps tend to form nests in less visible areas of the hedges. We saw a couple wasps fly away as he prepared the area. Sure enough, after he trimmed four bushes, we found three small wasp nests.
I forgot to clarify what shape for the hedges to be trimmed in advance, so he formed them into rectangle puffs. It is not my first choice but overall the appearance is much better. I love the easy improvement!
We have been working tediously on the yard and I hope to share more outdoor progress soon in the next update! Have a wonderful week.
Live your life joyfully so,
Ashley